
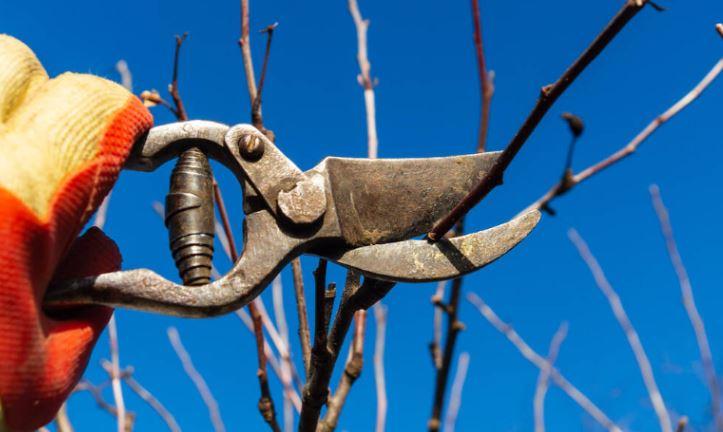
If you’ve ever struggled to make clean cuts with a pruning shear, you know the importance of maintaining this tool.
Neglected shears can become dull and rusty and even spread diseases from one plant to another.
However, with a little regular care, your pruning shears will stay clean, sharp, and effective for a long time.
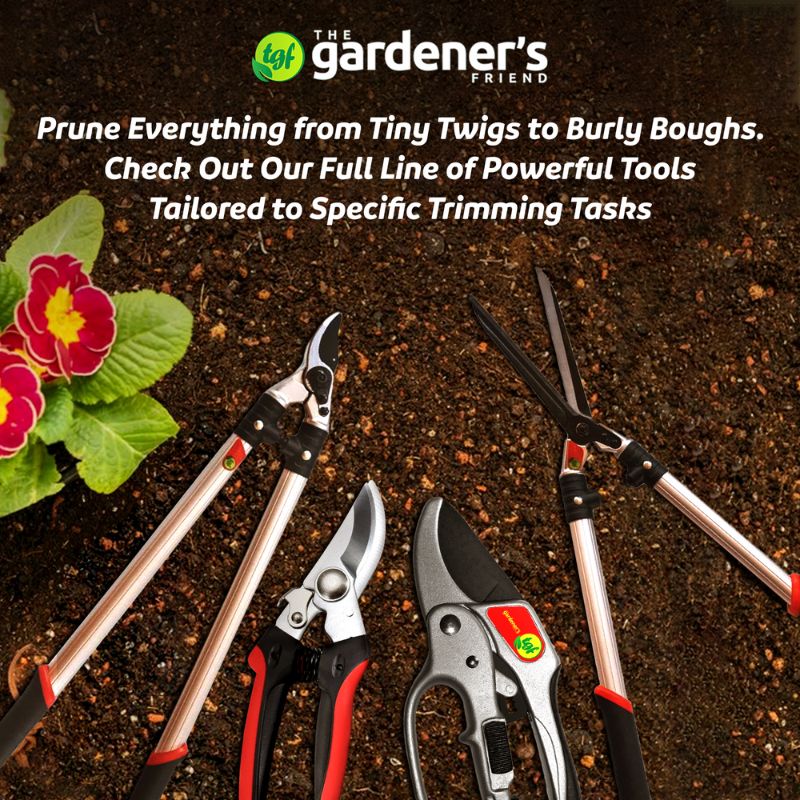
In this blog post, we’ll dive into how to maintain pruning shears, including:
- How to clean dirt and sap
- Disinfecting your tool to prevent the spread of diseases
- Keeping your blades sharp
- Lubricating moving parts to prevent rust
- And more
Let’s get started.
Understanding the Anatomy of Pruning Shears

Knowing different parts of pruning shears helps you keep them clean and effective. When you know how each part fits into the tool’s function, you’re better able to take care of it.
Blades
They’re the most important part of pruning shears since they come in direct contact with plants, collecting most of the debris, sap, and dirt.
Over time, the build-up of these substances dull the blades, making them virtually ineffective at cutting and even leading to rust.
Pivot Bolt
This is the part that holds the blades together. It’s also where sap and dirt collect, and if you don’t clean it properly, the blades may not open and close smoothly.
Spring Mechanism
This part pushes the blades apart after each cut. Why’s their maintenance important? Because springs are a metallic part, which makes them prone to rust.
Handles
You use handles to control the shears. They’re often covered with plastic or rubber to provide an effective grip. Well-maintained handles make your job comfortable.
Cleaning and Disinfecting Your Pruning Shears
Keeping a gardening tool clean and sterilized isn’t just a gardening best practice - it’s crucial for your plant’s health.
Plus, regular maintenance keeps your tools in top shape, prolonging their active lifespan.
Cleaning serves a different purpose from disinfecting. It removes the dirt, sap, and residue from your shears, paving the way for effective disinfecting.
Without cleaning, some parts may remain hidden from disinfecting agents, making them vulnerable to rust and diseases.
Materials Needed for Cleaning and Disinfecting
Let’s first walk you through the materials you need for cleaning and disinfecting. Gather these items before you get started:
- Warm Soapy Water: To clean dirt, sap, and grime
- Old Toothbrush: For scrubbing hard-to-reach spots
- Clean Cloth or Paper Towel: To dry or wipe the shears
- Rubbing Alcohol (70% isopropyl) or bleach solution (1 part bleach to 9 parts water): For disinfecting
- Protective Gloves: For protection, especially if you’re using a bleach solution
- Bucket or Container: For soaking the blades
How to Clean and Disinfect a Shear Step-by-Step
Once you have everything you need, it’s time to start the cleaning process.
Step 1: Disassemble If Possible
If you can easily take the tool apart, go ahead and disassemble the blades. It’ll help you reach tight spots and clean effectively.
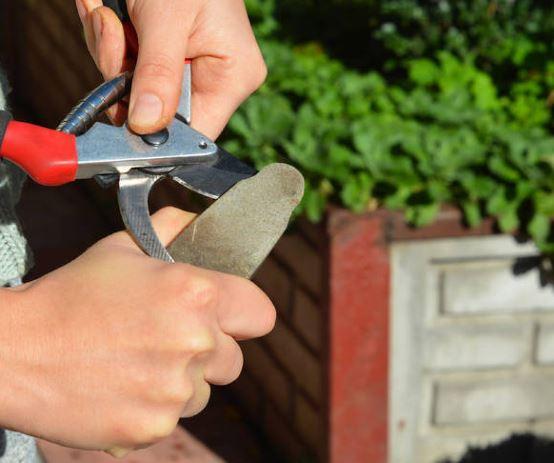
Step 2: Clean the Dirt and Debris
Dip your toothbrush in warm, soapy water and scrub each part (Blades, handle, spring). Pay special attention to the pivot area.
Step 3: Rinse and Dry
Rinse the parts with clean water or use a dry cloth to remove soap. Moisture leads to rust, so always use a dry towel at the end to remove water.
Step 4: Disinfect the Blades
Soak a clean cloth in rubbing alcohol or a bleach solution and wipe down the blades carefully. Leave the blades to air dry for a few minutes. Rinsing after disinfection isn’t necessary.
Another way would be to immerse the blades into the disinfectant solution, take them out, and leave them to air dry for a few minutes.
Step 5: Reassemble
Lastly, if you disassembled the parts, put them all together and make sure every part is works smoothly.
Sharpening The Blades
Blade sharpening is another important maintenance activity. Over time, these blades can get dull and ineffective at pruning.
Tools Needed
You don’t need a fancy setup to sharpen your blades. Here’s a list of a few simple tools that’ll get the job done:
- Sharpening Stone
- Garden Tool Sharpener
- Flat File
- Clamp or Bench Vise (Optional)
- Protective Gloves
Sharpening Process
Here’s how you can sharpen a pair of pruning shears:
- Clean the Blades: Make sure the blades are free of sap and rust
- Secure Your Shears: Grip the shears firmly on a surface or use a clamp or a bench vice
- Start Sharpening: Identify the cutting side of the blade (Angled side) and start moving the sharpener along the edge.
Repeat the motion a few times until the edge feels sharp enough.
Why and How to Lubricate Pruning Shears
Regular lubrication matters because it:
- Prevents rust (Creates a protective barrier)
- Keeps your shears moving (Reduces friction)
- Extends working life (Oil reduces wear)
- Improves performance (Well-oiled shears make smoother cuts)
To lubricate the metallic part, you need two things:
- A clean cloth
- Lubricating oil
Before starting, make sure the tool is clean and dry. Lightly coat the blades with a few drops of oil. Open and close the blades a few times to let the lubricant do its job.
Wipe off excess oil. Ensuring it reaches every nook and cranny is more important. A light coat is enough.
Frequently Asked Questions
Let’s address some frequently asked questions related to the maintenance of pruning shears.
Should I Oil My Pruning Shears?
Yes, regular oiling helps prevent rust, keeps the blades moving smoothly, and prolongs the tool’s life. Lightly coat the blades with a tool oil or WD-40 and let it dry.
How Do You Keep Pruning Shears from Rusting?
Always clean and dry your pruning shears after every use. Coat a thin layer of tool oil and store the tool in a dry, clean place.
Can You Use Vinegar to Clean Pruning Shears?
Yes, vinegar is a convenient and effective cleaning option. It can help remove dirt and sap. Soak the blades for around 15 - 30 minutes, scrub them with a brush, and let them dry.
How Can I Sharpen My Pruning Shears?
You can sharpen the blades with a sharpening stone, carbide sharpener, or a fine file. Clean the blades and move the sharpener along the sharp edge of the blade a few times. Apply some oil after sharpening.
Conclusion
Maintenance of pruning shears doesn't take much time and effort, but it makes a big difference. If you want to prolong your tool’s life, keep cutting smoothly, and prevent plant diseases from spreading, clean and disinfect your shears regularly.
In this guide, we've talked about everything from cleaning to lubrication. Make these simple maintenance steps a routine, and your gardening tools and plants will thank you.